In my Rag Wreath post I had mentioned that I found 2 wreaths that I really wanted to make. This is the other wreath I wanted to make. I found it really time consuming, but with DH gone it was a great project to do after DD went to bed and I had time to kill (while avoiding chores). I got the idea for the wreath from The Picky Apple. I did a few things differently then she did but the concept I got from her.
Supply list:
Foam Ring
2" Black Sating Ribbon (I needed a little over 2 rolls and each of my rolls was 4yds)
straight pins
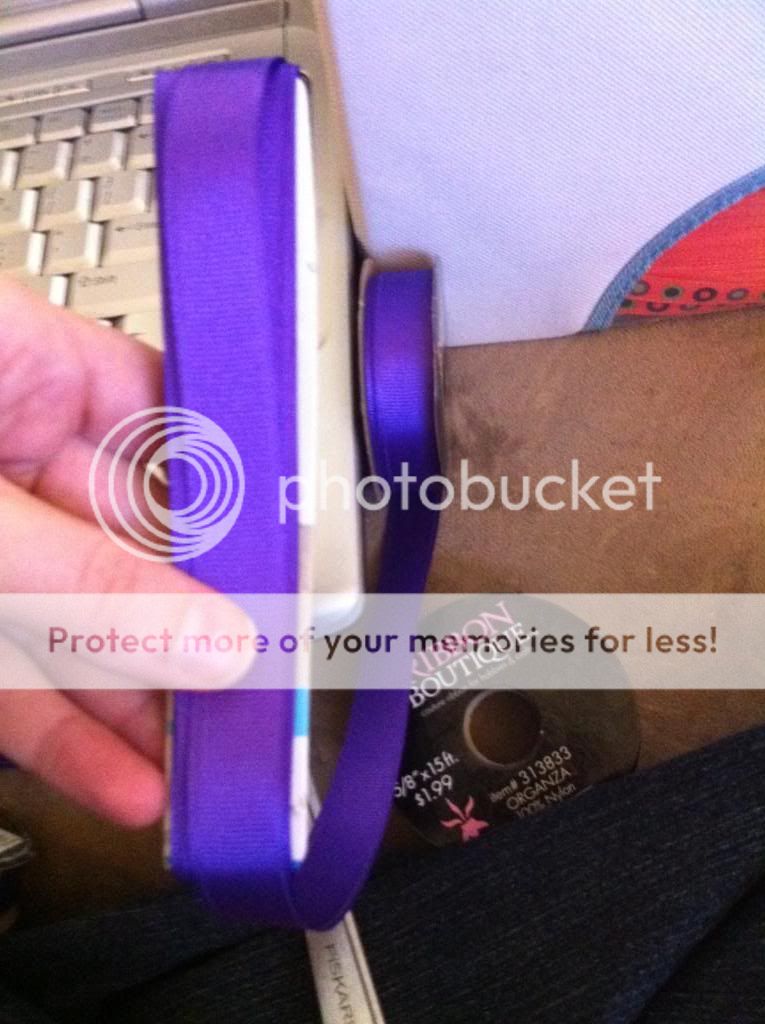
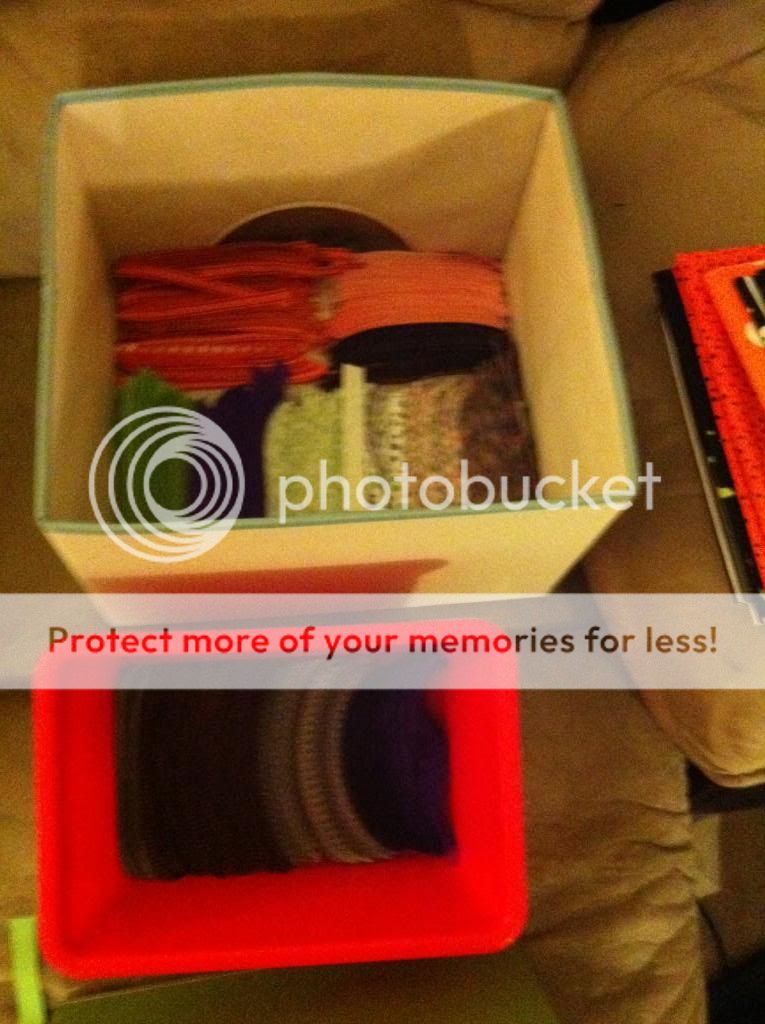
lots of ribbon, I wish I could tell you what lots is, in The Picky Apple's blog she mentioned that she needed to go out and get more, well I bought too much, I bought over 300 yds of ribbon, if I were to make one again I'd start with 150 or 175 yards, I seemed to use about half of what I cut.
2 wooded blocks
sign/letters you want on the wreath (mine is a pre-made boo)
scissors
hot glue gun
LOTS of hot glue
and it begins....
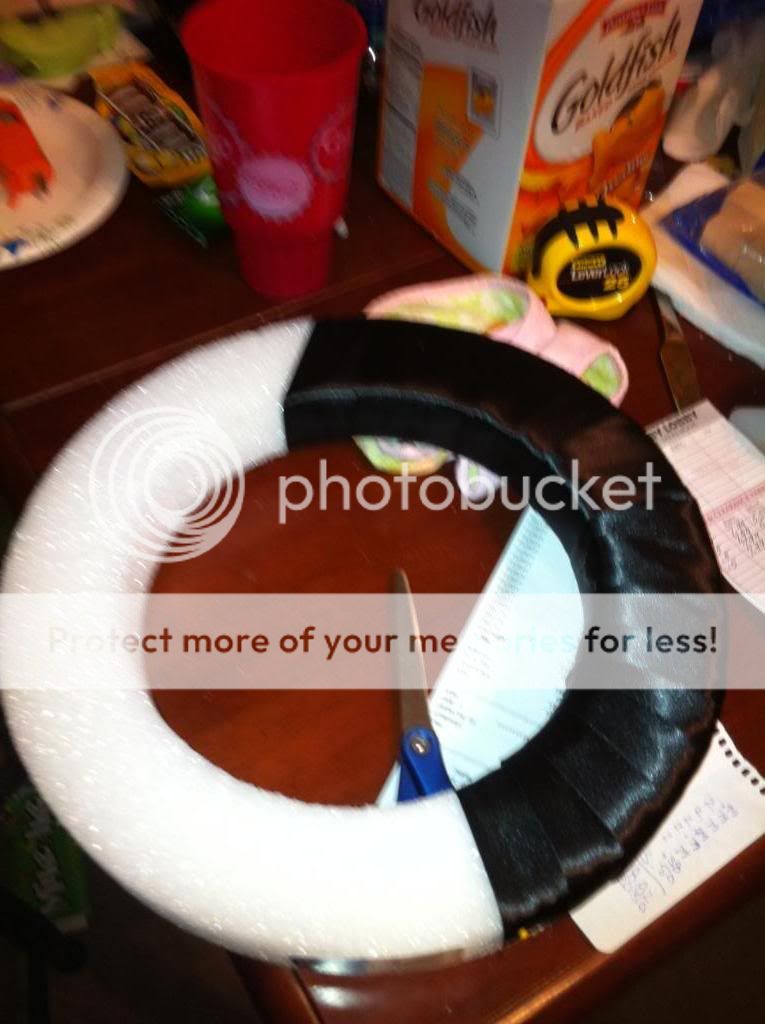
Take a straight pin and pin the end of the ribbon on the inside of the ring and wrap the ribbon around. Hot glue it as you feel needed. This is what 4yds of black ribbon covered for me.

I know it's a little dark but this it the ring totally covered, I also have the blocks with black ribbon (that I had from another project) and glued them on to the wreath, I have the yellow box around the block. I decided to put the blocks on first so I didnt have to worry about trying to fit them in later, I wanted to make sure they would stick really well. (Notice Heinzy on the floor, that's my boy)
Now begins the task of cutting the ribbon
here is everything I started with

I told you I bought over 300 yards

I cut a piece of cardboard width doesn't matter because the width will be the width of the ribbon, its the length that matters. My piece of cardboard was 6" long, this helped me keep the ribbon strips pretty dang close to each other
I wrapped the ribbon around the cardboard, just keep wrapping, but not to thick, I did about 1/2 the roll at a time.

Then slid the scissors in one of the loops

cut both loops and you'll cut a lot of stripes at once!
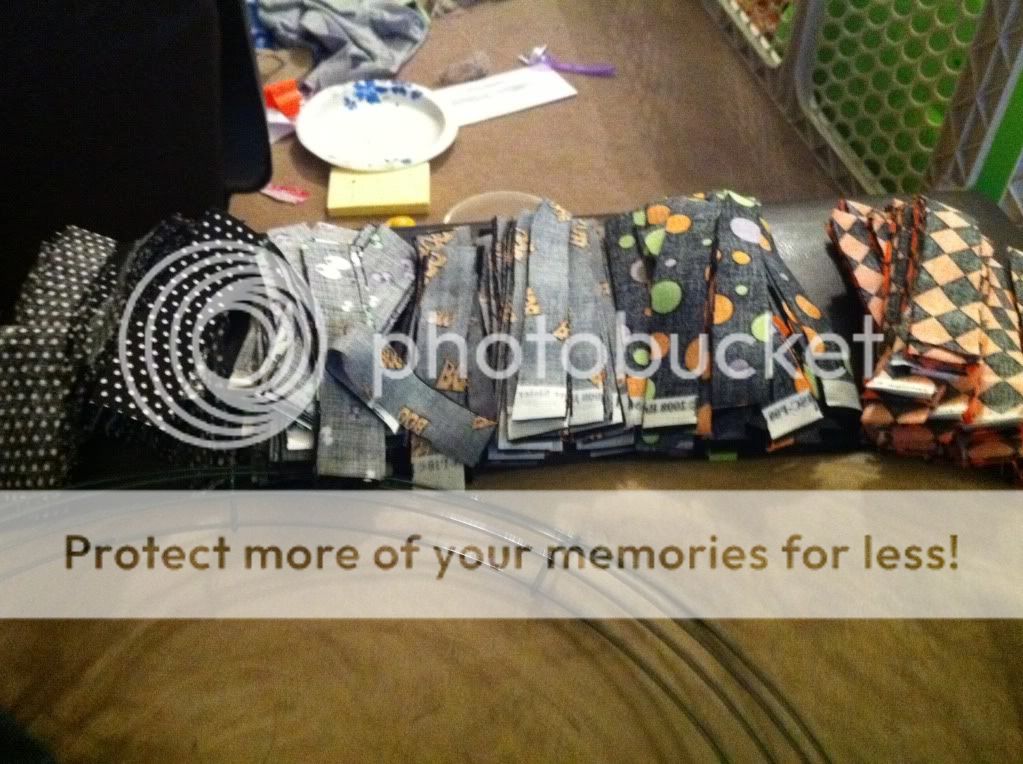
here is all my cut ribbon! over all I had 11 or 12 different patterns of ribbon
now the task of looping all the ribbon, you have 2 choices, sew them or glue them. I tried sewing a few and found it to be a pain and glued 99% of the loops.
To make the loops you want to put a dot of glue on the ribbon and then fold the ribbon in half but make sure to leave a 'tail' so you can glue it to the wreath later
You want them to look like this, where you place the glue will determine how big the loop is and how much of a 'tail' you will have to glue, you can always trim to make the 'tail' smaller later so keep that in mind
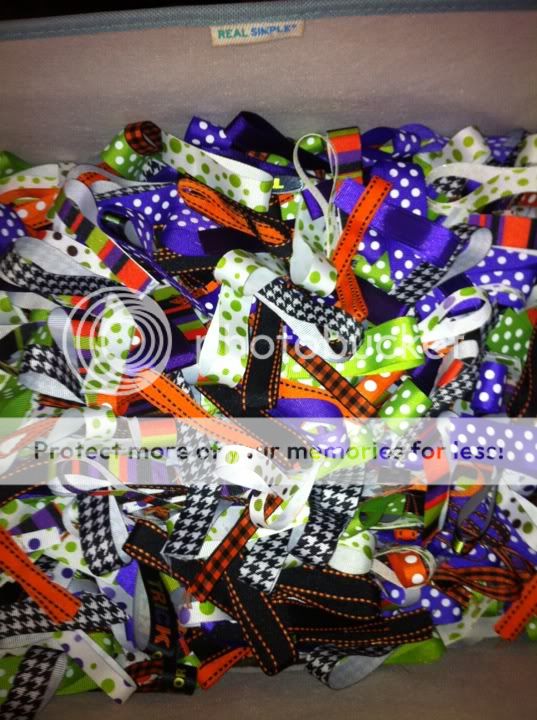
Here are all my loops! I just tossed them all in a box and mixed them all together as I went, isn't it pretty?

Here is what my wreath looked like about half way, I started at the top and worked my way around, as you can see I randomly placed a few around the wreath, you don't have to do this. I just pulled apart the 'tail' put hot glue in it and placed is on the wreath. You'll overlap the 'tails' the closer you bunch them the more loops you'll need for the wreath. Now if you have long 'tails' you may need to trim some which is fine, I trimmed some of mine. Its like a jigsaw puzzle just make it fit. Remember you can always add more later.


This is the side of the wreath, I layered them, so they wouldn't stick out. I started at the top and worked my way down so that the bottom ribbon would wrap under the wreath. Repeat this on the inside too.

this is what the back of the wreath, you can see how the ribbons from the outside and the inside and how the ribbons wrap to the back
ALMOST FINISHED!!

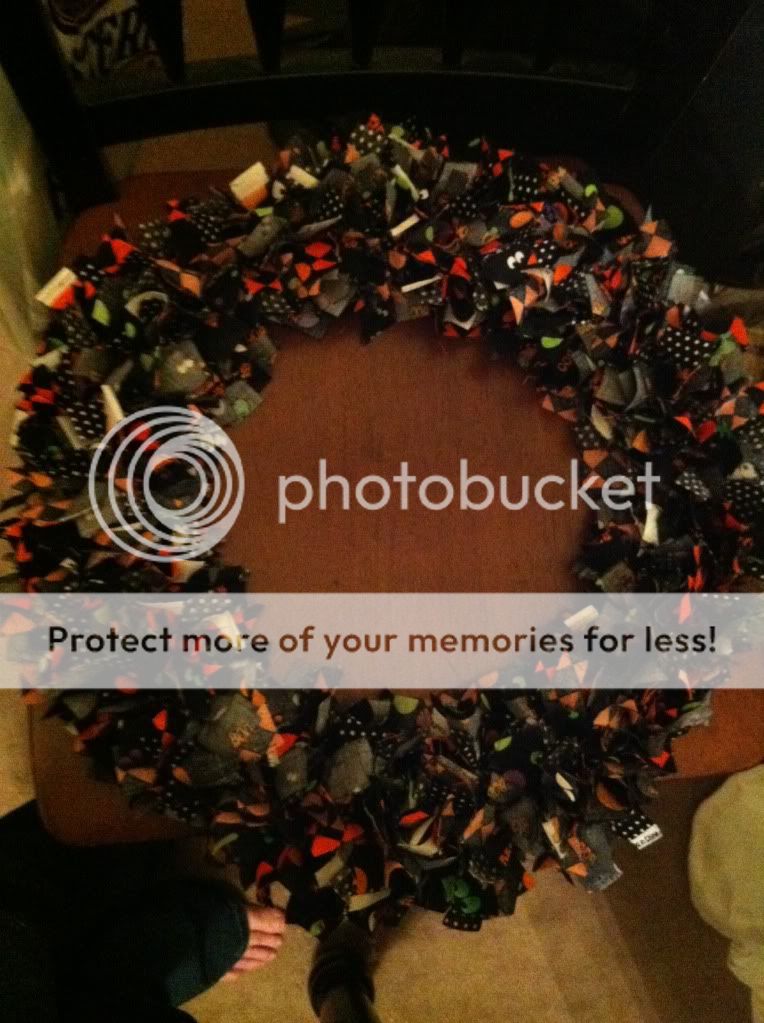
Here is the wreath totally covered in ribbon

Then I glued the pre-made boo sign to the blocks. (the pre-made sign was only $5 and buying letters, paint and glitter like The Picky Apple did added up to more then that)
The I had to add ribbon to the back so that I could hang it up, I just used the left over 2'' black ribbon I used to cover the foam.

I glued the black ribbon into a loop then glued it to the wreath
but to make is extra sturdy I used 2 floral pins I had left from another project

here you can see the floral pins that I pushed trough the ribbons and into the foam, these are totally optional
I really enjoyed making this wreath, it was time consuming but fun, like I said it was a great project while DD was sleeping, I have a LOT of ribbon left so I might make another one since all I'd have to do this time is glue the loops on the wreath, guess we'll see.